Did you know that you should allow new ceiling tiles to adjust to the job site for at least 24 hours? Or that you should always start a sloped ceiling installation from the bottom, working your way to the top?
Work smarter and more efficiently by downloading our comprehensive ceiling installation tips guide!
PDF Tips for Ceiling Installers
Top 10 Ceiling Installation Tips
1) While Tip 1 may seem obvious to the experienced DIYer, it's worth mentioning. Be sure to remove the ceiling tiles, panels, or planks from the carton 24 hours before installation so they can adjust to the room temperature where you'll be installing your ceiling.
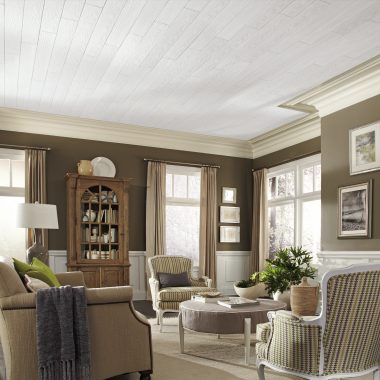
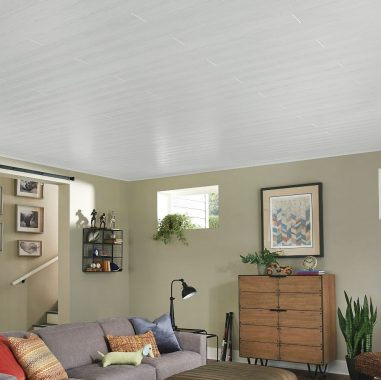
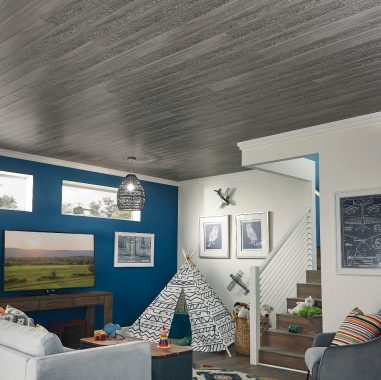
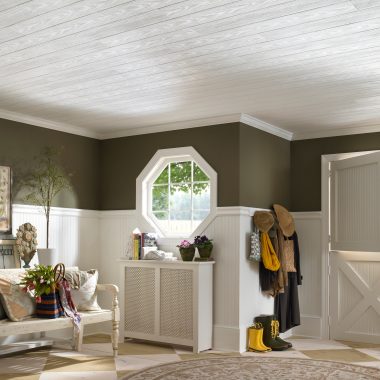
2) Did you know that WOODHAVEN Planks should be installed horizontally on a sloped ceiling, and you should start from the bottom and work your way to the top? Check out tip 27 in the full guide for more info.
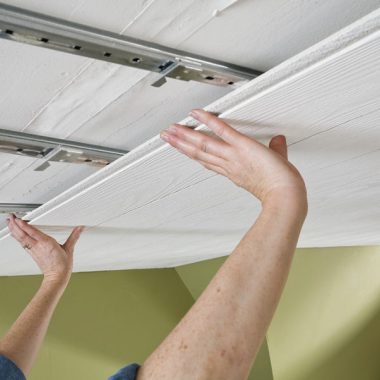
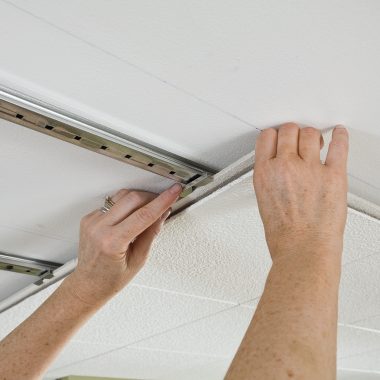
3) When installing the EASY UP track system, the first and last rows of metal tracks are installed 2" from the side walls. The rows of tracks in the middle are installed 12" on centers. Read more about it in Tip 10.
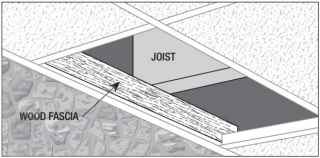
4) Speed up the installation of wall molding along an uneven wall surface. Create a wood fascia attached to the ceiling joist and be sure the bottom of the fascia board is even with the bottom of the wall molding. See the illustration under Tip 5 in the full guide.
5) Have you ever wondered which gauge hanger wire to use for commercial jobs or residential jobs? We recommend using 12 gauge hanger wire for a commercial job and 12 or 16 gauge hanger wire for residential projects. Check out Tips 6, 7, and 8 in the guide to see more hanger wire quick tips.
6) Tip 9 in the guide shows two methods of squaring the grid: one using a string, plumb bob, and a 3-4-5 triangle, and the other one uses a string, main beams and cross tees. See the guide for step-by-step instructions for each squaring the grid method in Tip 9.
7) Did you know that you can cut a cross tee with snips then bend it like a hinge to make boxing around obstructions simpler? See Tip 13 in the full guide for instructions.
8) Cutting recessed grid border panels can be tricky which is why Tip 19 from the full guide is included on our top 10 list. Carefully place the ceiling panel into the grid then draw a light pencil line using the wall molding as your guide. This is an ideal time to use any damaged or existing cut ceiling tiles. See Tip 19 for more information.
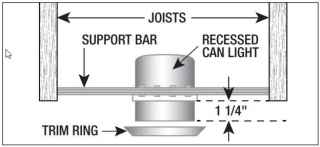
9) Be sure to install extra support when hanging light fixtures. For example, you’ll want to install additional hanger wires for extra support where you plan to place light fixtures. And when installing a recessed light in a tile ceiling, don't forget to use support bars between the joists for proper support. Never let a light rest directly on a ceiling tile. See Tips 21 & 22 for quick reference.
10) Did you know that incandescent lights, even in reflective high hat or can fixtures, are too hot for plastic surfaced panels, such as fiberglass? Check out Tip 23 in the guide for details.
Preparations help the ceiling installation process go faster and smoother. Use our time-saving ceiling installation tips help you to work smarter and save you from working harder.
PDF Tips for Ceiling Installers
Installation Tips & Tricks Videos

Related Articles
Cover Popcorn Ceilings
The easiest way to update the look of your home? Cover popcorn ceilings with the better alternative to scraping and sanding.
Old Grid, Beautiful Wood Look Drop Ceiling
Attach ceiling planks to an existing drop ceiling grid with special clips for a fresh wood look ceiling retrofit.
Popcorn Ceilings Are Frightful
Popcorn ceilings can be frightful. Don’t let a popcorn ceiling give you nightmares. Cover it up with charming wood-look planks or vintage-style metal ceiling tiles.
Are You a Ceiling DIYer?
Find the DIY ceiling that's right for your skill level by reading through our guide.

How to Install a Drop Ceiling
For advanced DIY-ers, installing a drop ceiling has never been easier. Learn how!

Installing Wainscoting from Armstrong Ceilings
WoodHaven Painted White and Beadboard planks can be used as wainscoting on a wall.

Backsplash Installation for Metal Panels
Do it yourself instructions for installing backsplashes.
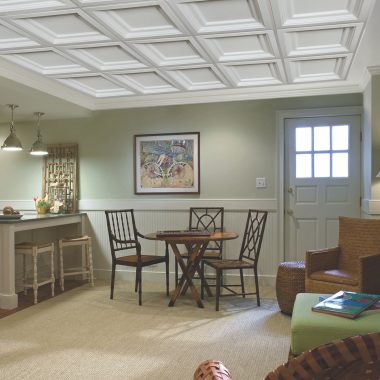
A Coffered Ceiling Guide
A coffered ceiling can bring drama or add subtle architectural detail to any room. Learn about your options, installation, design ideas, and more.
Tongue and Groove Ceiling Installation
Installation information for two types of tongue and groove ceilings: Woodhaven Planks and Country Classic Planks.
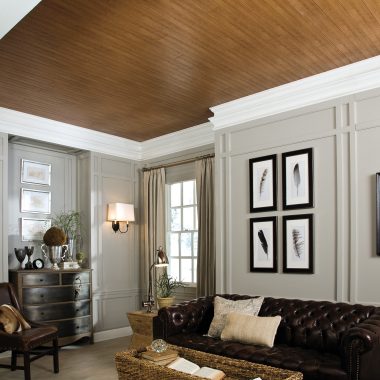
Tongue and Groove Ceiling Planks
Learn about tongue and groove ceiling planks from Armstrong Ceilings. Watch videos, learn to install, see photos, and more.
Ceiling Tile Installation: Comparing Your Options
Compare the different methods for installing ceiling tiles, whether it's surface mount or drop ceilings.
Decorative Wall Installation
Learn about decorative wall installation from Armstrong Ceilings. Metal, beadboard, and shiplap.
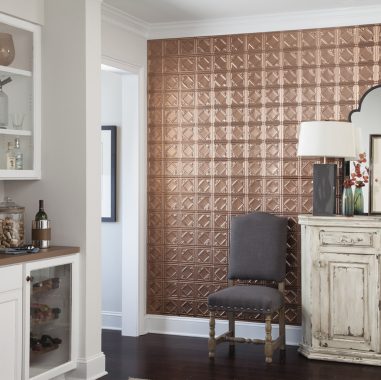
Metal Wall Installation for Metallaire Panels
Get Metallaire wall installation tips and tricks, watch videos, and view full instructions.
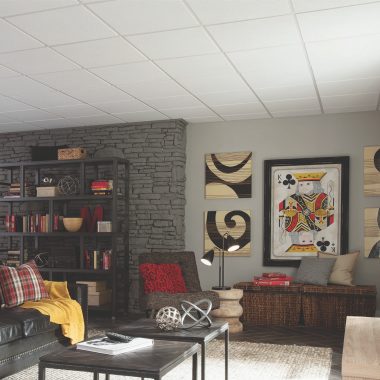
Drop Ceiling Installation for Armstrong Ceilings
Learn how easy a drop ceiling installation can be. Get instructions, watch videos, and see photos.
Installing Surface Mount Ceiling Tiles
Learn all about installing surface mount ceilings tiles. Watch videos, see photos, and read articles.
All About Wainscoting
Explore wainscoting how-to's, photos, videos, articles, and more. Comes in beadboard and smooth plank options.
Old Grid, Beautiful Wood Look Drop Ceiling
Attach ceiling planks to an existing drop ceiling grid with special clips for a fresh wood look ceiling retrofit.
Metal Ceiling Installation Cost
Consider these additions when planning for a metal ceiling installation.
Ceiling Clips Explained
Ceiling clips can help simplify your ceiling installation and will help polish the look. From Armstrong Ceilings.
Cover Popcorn Ceilings
The easiest way to update the look of your home? Cover popcorn ceilings with the better alternative to scraping and sanding.

Ceiling Repair Alternatives
From wood to metal to decorative options, you can cover up your damaged ceilings instead of repairing or tearing it down and starting from scratch.