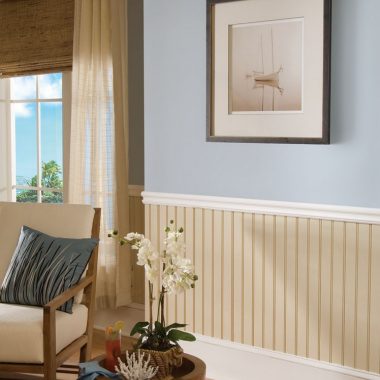
Installing Wainscoting from Armstrong Ceilings
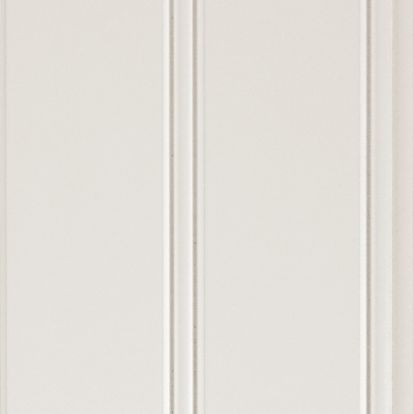
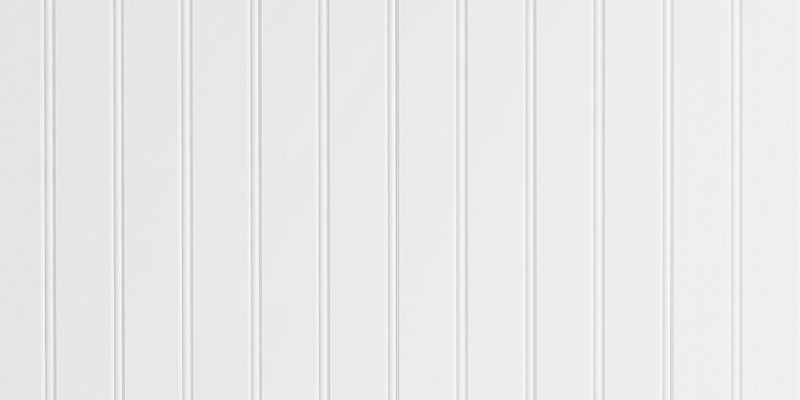
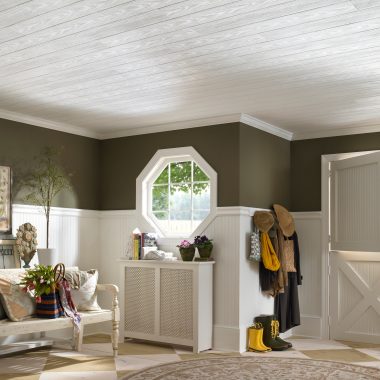
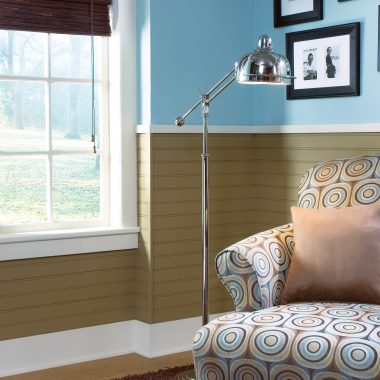
Five WOODHAVEN Plank finishes can be used as wainscoting on a wall.
Five WOODHAVEN Plank finishes can be used as wainscoting on a wall.
Unpack the planks in the room where they will be installed at least 2-3 days prior to the project to allow material to adjust to the relative humidity in the space where it will be installed
To prevent wet floors from damaging the planks, install a piece of 3/8˝ thick lath (thin, flat strip of wood) on the wall at the floor, so the bottom of the planks can butt against the top of the lath.
While the normal orientation of wainscoting is vertical, WoodHaven planks can be installed on walls either vertically or horizontally.
When installing the planks vertically, use a construction adhesive to secure the planks to the wall. Be sure to check that the adhesive is suitable for the wall surface you’re adhering to. Follow the adhesive manufacturer’s recommendations for surface preparation and application rate. If the planks don’t stick to the wall immediately, use painter’s tape to hold the planks to the wall until the adhesive sets up.
When installing planks horizontally, use the WOODHAVEN Plank clips enclosed in the WOODHAVEN carton. With the long tongue edge of the first plank resting on the lath, place the clip over the flange at a stud location. Using #6 x 1-1/4-in drywall screws sold separately (do not use the enclosed screws, they are too short for this application), secure the clip to a wall stud. Fasten clips at every stud location along the length of the plank being installed.
Finally, to finish your wainscoting install, apply a baseboard of your choice over the lath and the bottom of the planks. A top trim can be installed at the top of the planks to serve as a chair rail and finish the installation.
Check out all of the WOODHAVEN Ceiling Plank options, installation instructions, videos, photos, and more. Perfect for your home.
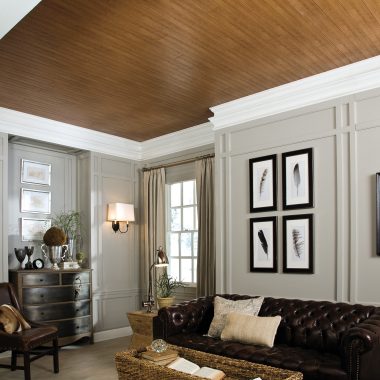
Add some interest to your space with a decorative wall. Get 7 ways to spruce up your home by using ceilings on walls.
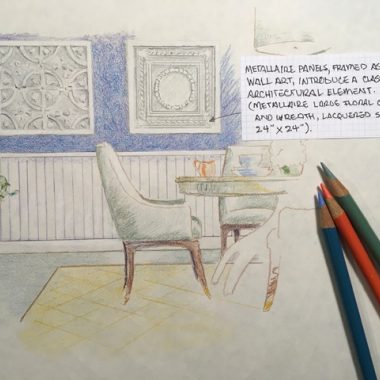
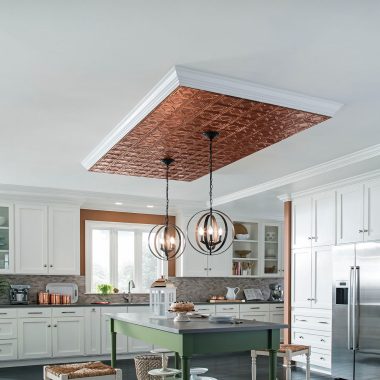
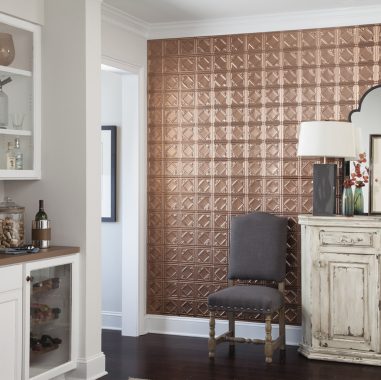
A designer gives us some fresh ideas to use METALLAIRE decorative metal paneling to add that something special to your home.
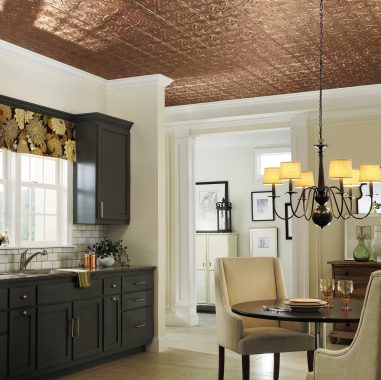
See all of the METALLAIRE ceilings, walls, backsplashes, and accessories that can add a shining twist to your space.
Learn how to visually separate open floor plans using decorative ceilings and walls.
Learn about decorative wall installation from Armstrong Ceilings. Metal, beadboard, and shiplap.
Get Metallaire wall installation tips and tricks, watch videos, and view full instructions.
Check out all of the WOODHAVEN Ceiling Plank options, installation instructions, videos, photos, and more. Perfect for your home.
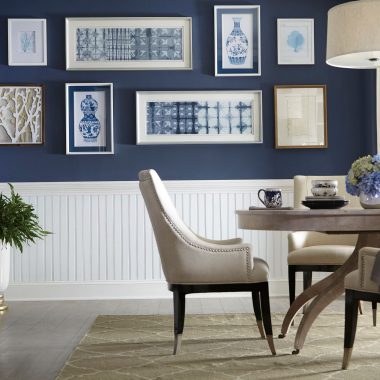
Explore wainscoting how-to's, photos, videos, articles, and more. Comes in beadboard and smooth plank options.
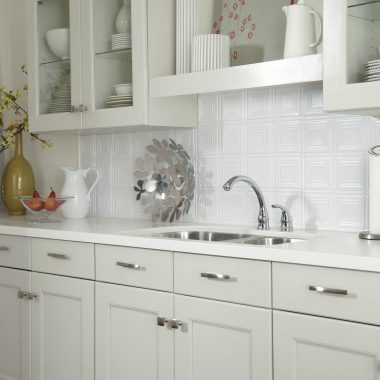
Upgrade the look of your kitchen affordably with tin look backsplashes.
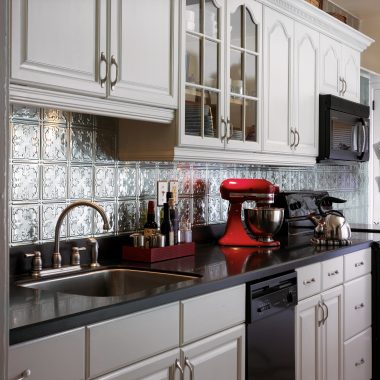
Upgrade the look of your kitchen affordably with tin look backsplashes.
Between tin looks and wood designs, Armstrong Ceilings has your basement walls covered.

Read about backsplash sheets in metal finishes and get design ideas to add beauty to your home.