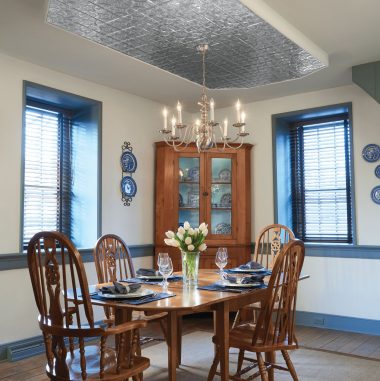
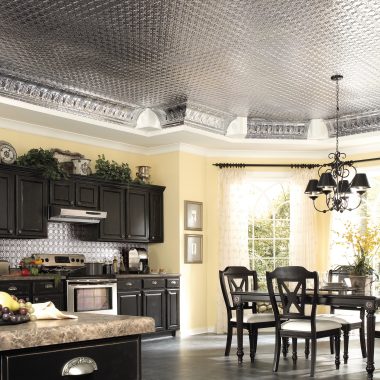
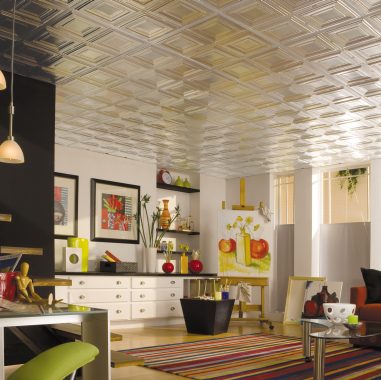
Turn Decorative Metal Panels Into a Ceiling Accent Cloud
Use decorative metal panels to add some shine above your kitchen island.
Use decorative metal panels to add some shine above your kitchen island.
Looking to add beauty and value to your kitchen? Consider installing a ceiling accent cloud. This striking design accent helps break up a bland ceiling, provides aesthetic appeal to your island area and eliminates repainting when adding task lighting.
Tools and supplies for the install may include, but are not limited to:
To begin this on-trend project, start by measuring the dimensions of your new ceiling accent cloud and position of your lighting. If you’re installing above an island it‘s best to first measure the counter dimensions and use the same proportions for the ceiling accent cloud. If you have one, a laser is a great tech tool to mark lines off the island. If you don’t have a laser level a weighted string works well too.
Now it’s time to cut plywood to the desired dimensions and drill/cut holes for the light fixtures. Then lay out the 24"x 48" decorative metal panels. Consider starting with a panel in the center of the plywood and working out or use the center of the board as the middle seam for the panels. Cut panels with metal shears and use aviation tin snips to cut holes for the lights. Then measure and miter cut your trim pieces and prep, paint and caulk as desired.
First locate the joists (wooden beams behind the ceiling’s drywall) using a stud finder or by lightly tapping on the ceiling. Mark the joists for future reference.
Next, screw the plywood into the ceiling, making sure there is a solid connection with the joists. Be sure to use the appropriate screws for the wood. A pre-punch screw tip is easier to drill through solid wood.
Following the manufacturer’s instructions, apply the decorative metal panels directly to the plywood and finish with coordinating cone head nails. Complete the look by nailing the trim of your choice around the border of your new ceiling accent cloud. Be sure to caulk nail holes if needed and use a damp rag to clean up and make your new decorative metal panels sparkle.
With your new ceiling accent cloud now complete, you can bask in the functional beauty and value it adds to your kitchen. Also prepare yourself for the compliments you’ll receive from friends and family the next time you entertain.
230-years of history? Check. 125 wheel moving jack? Check. 1 massive home? Check. Find out how Mark and Judy Ashley lifted a home, moved it down the road, and renovated it with the help of Armstrong Ceilings.
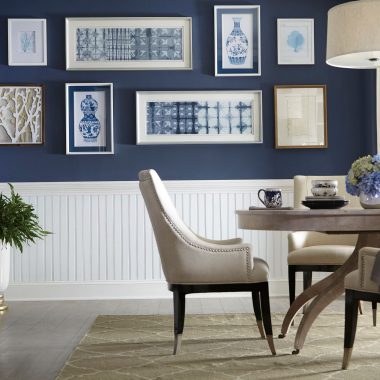
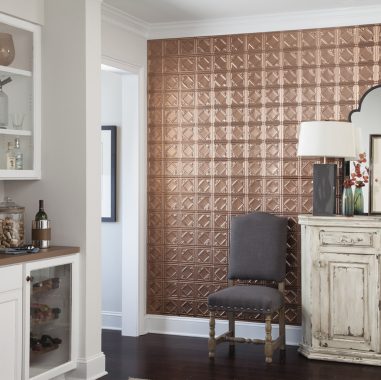
Add some interest to your space with a decorative wall. Get 7 ways to spruce up your home by using ceilings on walls.
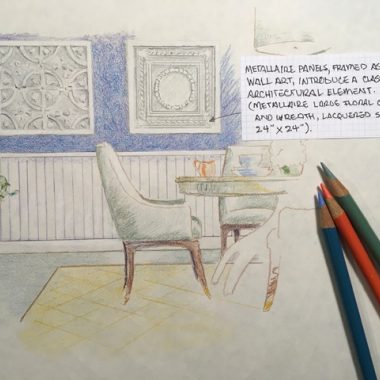
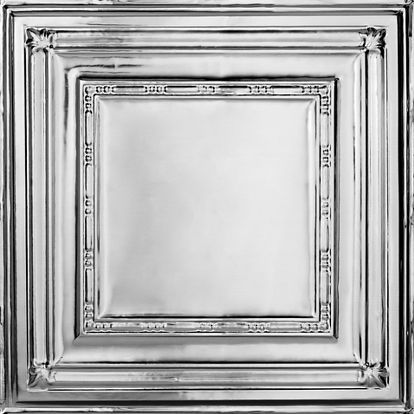
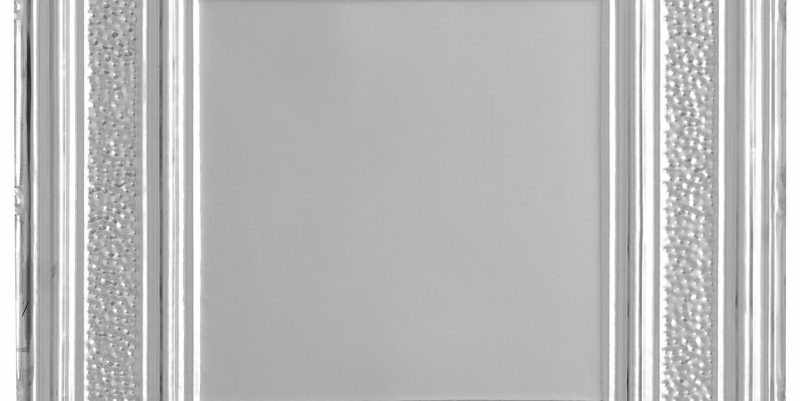
A designer gives us some fresh ideas to use METALLAIRE decorative metal paneling to add that something special to your home.
With ornamental patterns in pressed metal, antique ceiling tiles bring a touch of old-world charm to any room.
See all of the METALLAIRE ceilings, walls, backsplashes, and accessories that can add a shining twist to your space.
Get Metallaire wall installation tips and tricks, watch videos, and view full instructions.
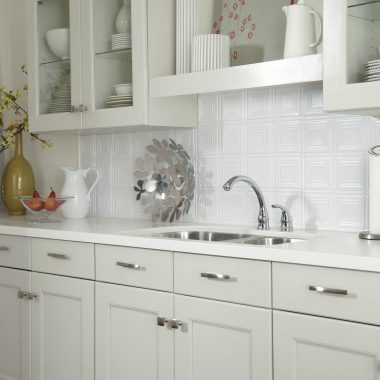
Upgrade the look of your kitchen affordably with tin look backsplashes.
Consider these additions when planning for a metal ceiling installation.
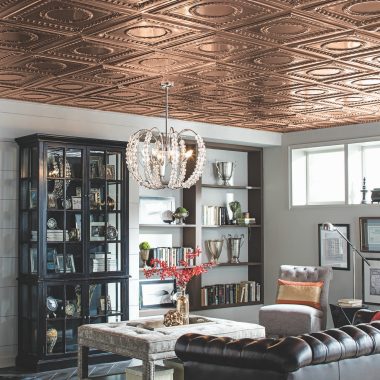
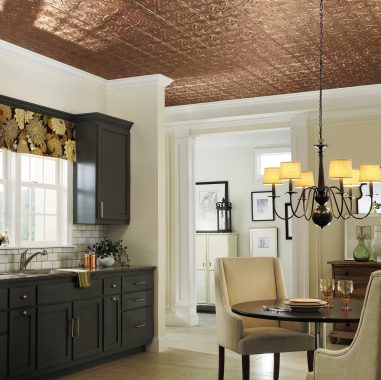
Copper ceiling looks from Armstrong Ceilings can add warmth and shine to a space. See photos and learn more.
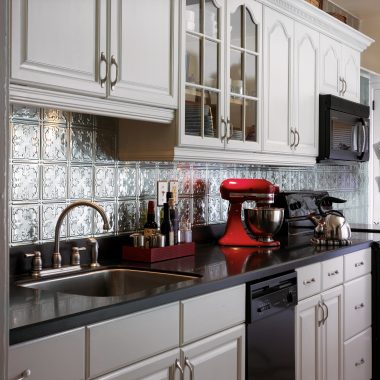
Upgrade the look of your kitchen affordably with tin look backsplashes.
Faux tin tiles are made of mineral fiber and embossed to exhibit the flair of the 1800's.

Read about backsplash sheets in metal finishes and get design ideas to add beauty to your home.